DIY Blooming Monogram
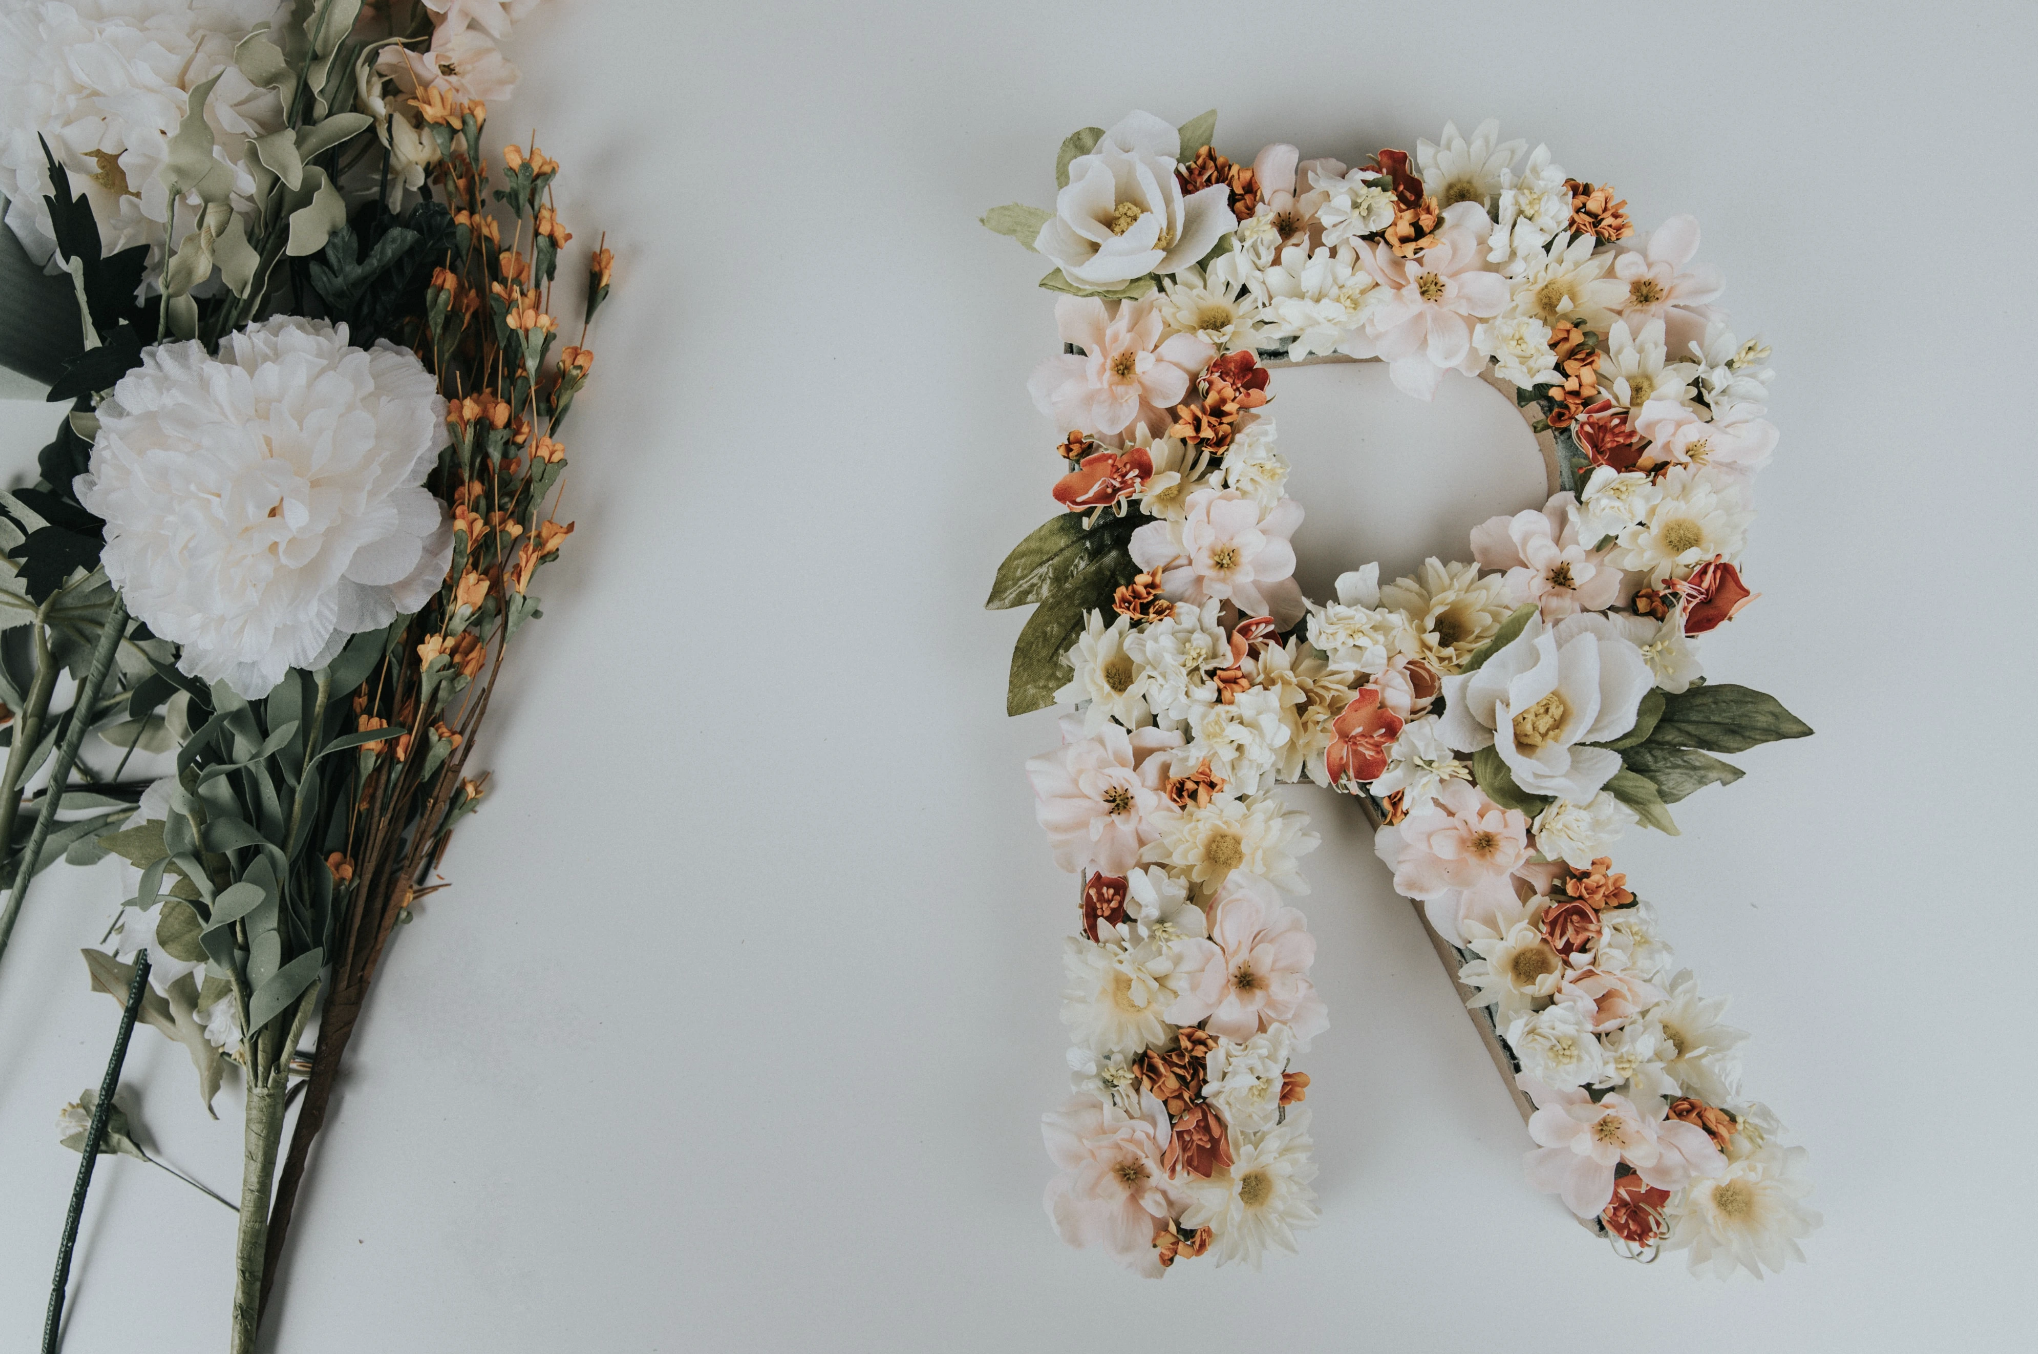
In preparation for the upcoming spring season, let’s create a colourful DIY that will bring beauty into your home year-round.
A blooming monogram is quick, easy and totally personalized - use these flower letters to spell out your family name, you and your partners initials, a positive word, or anything else you can think of.
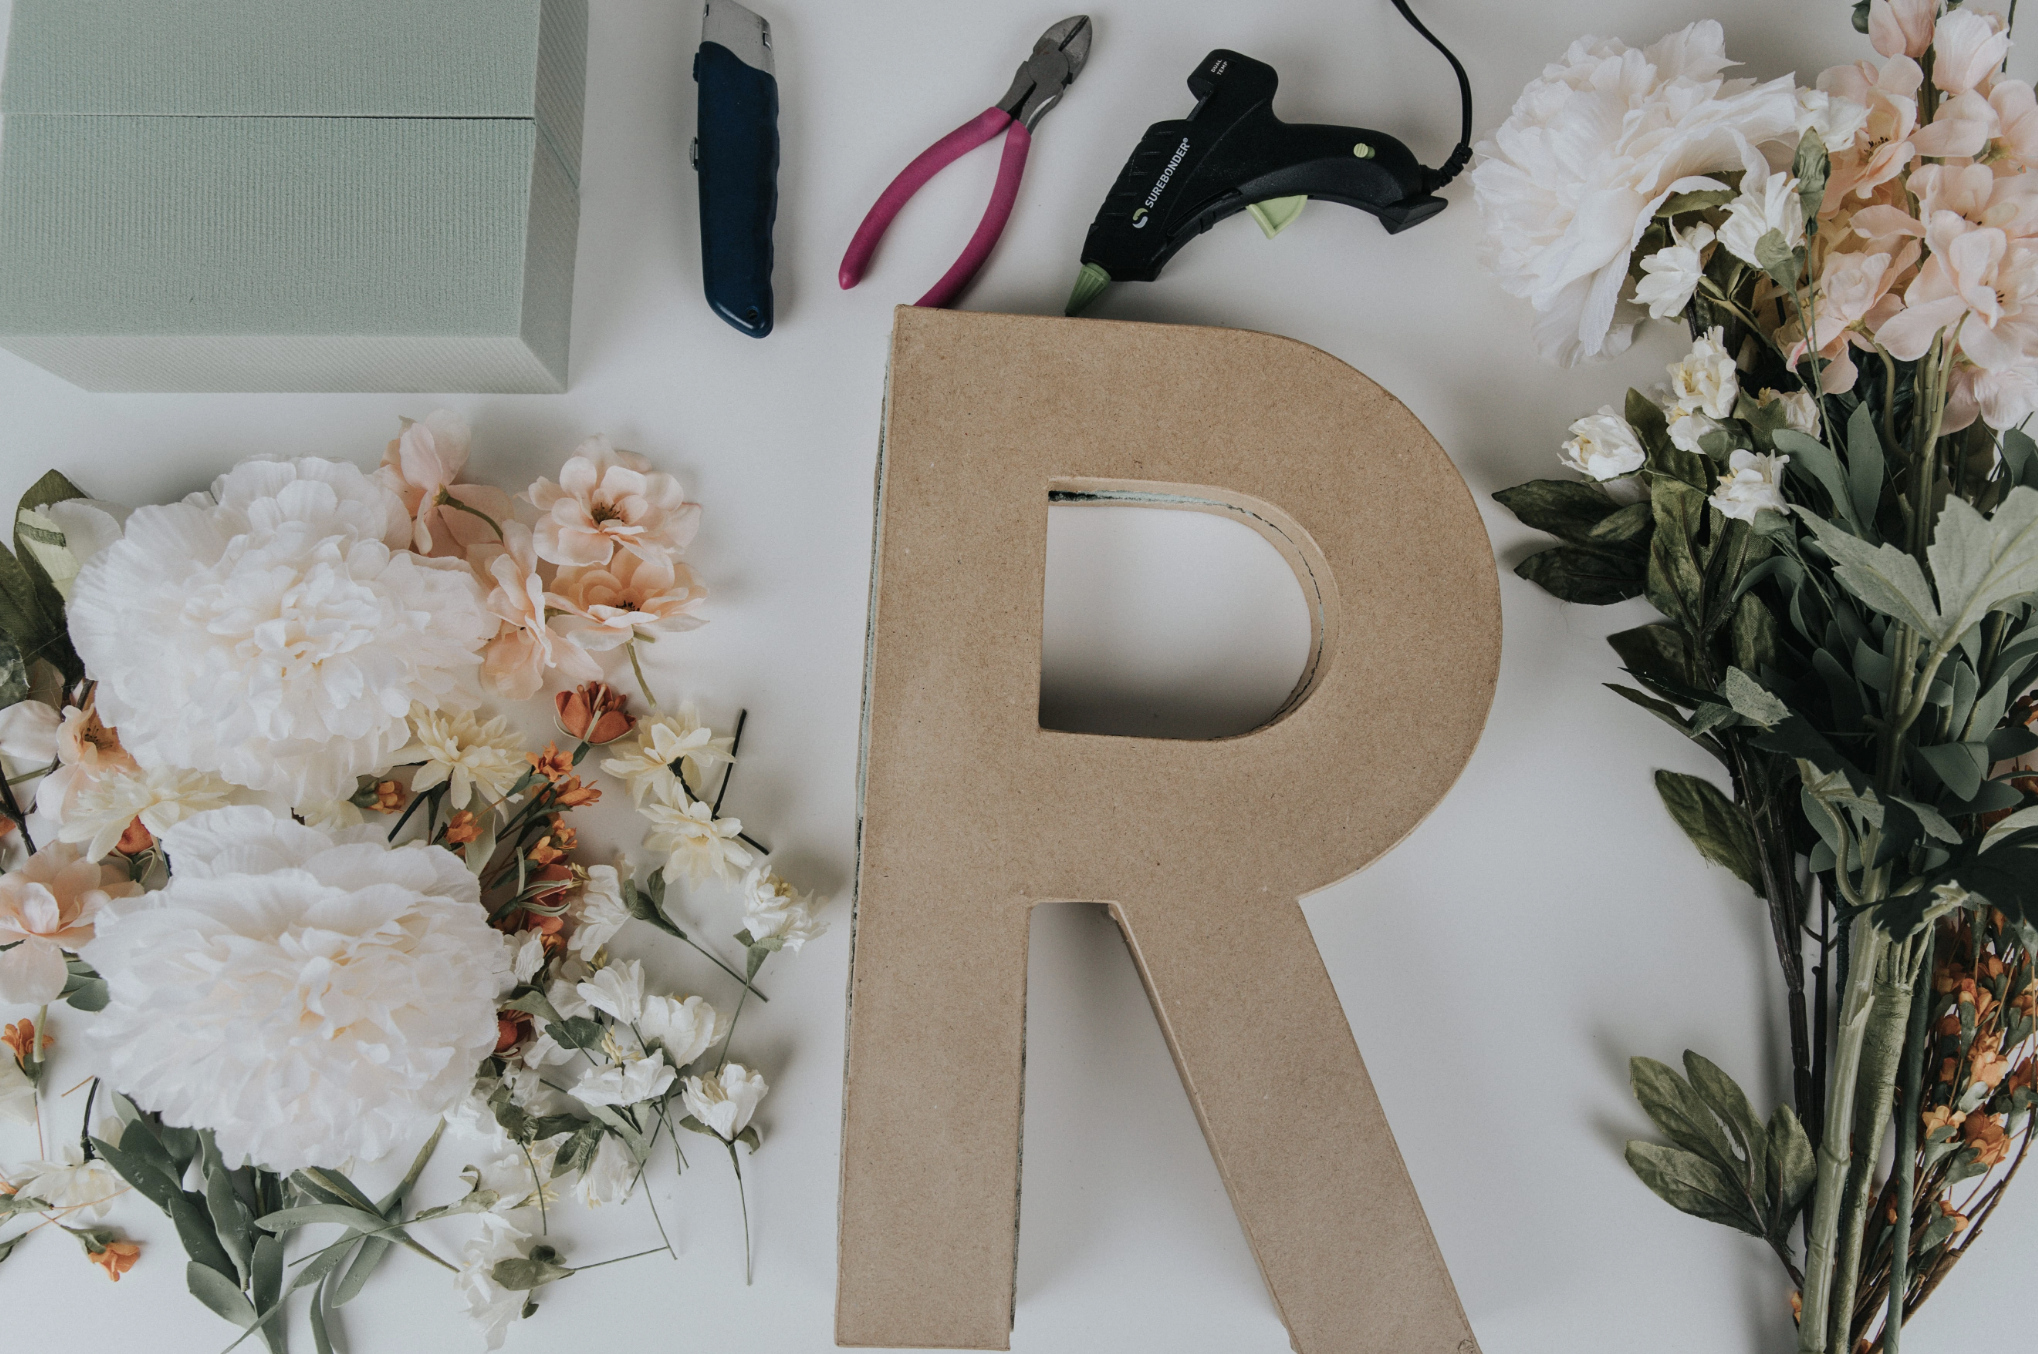
Materials
• Paper Mache Letters
• Box Cutter
• Floral Foam
• Hot Glue Gun
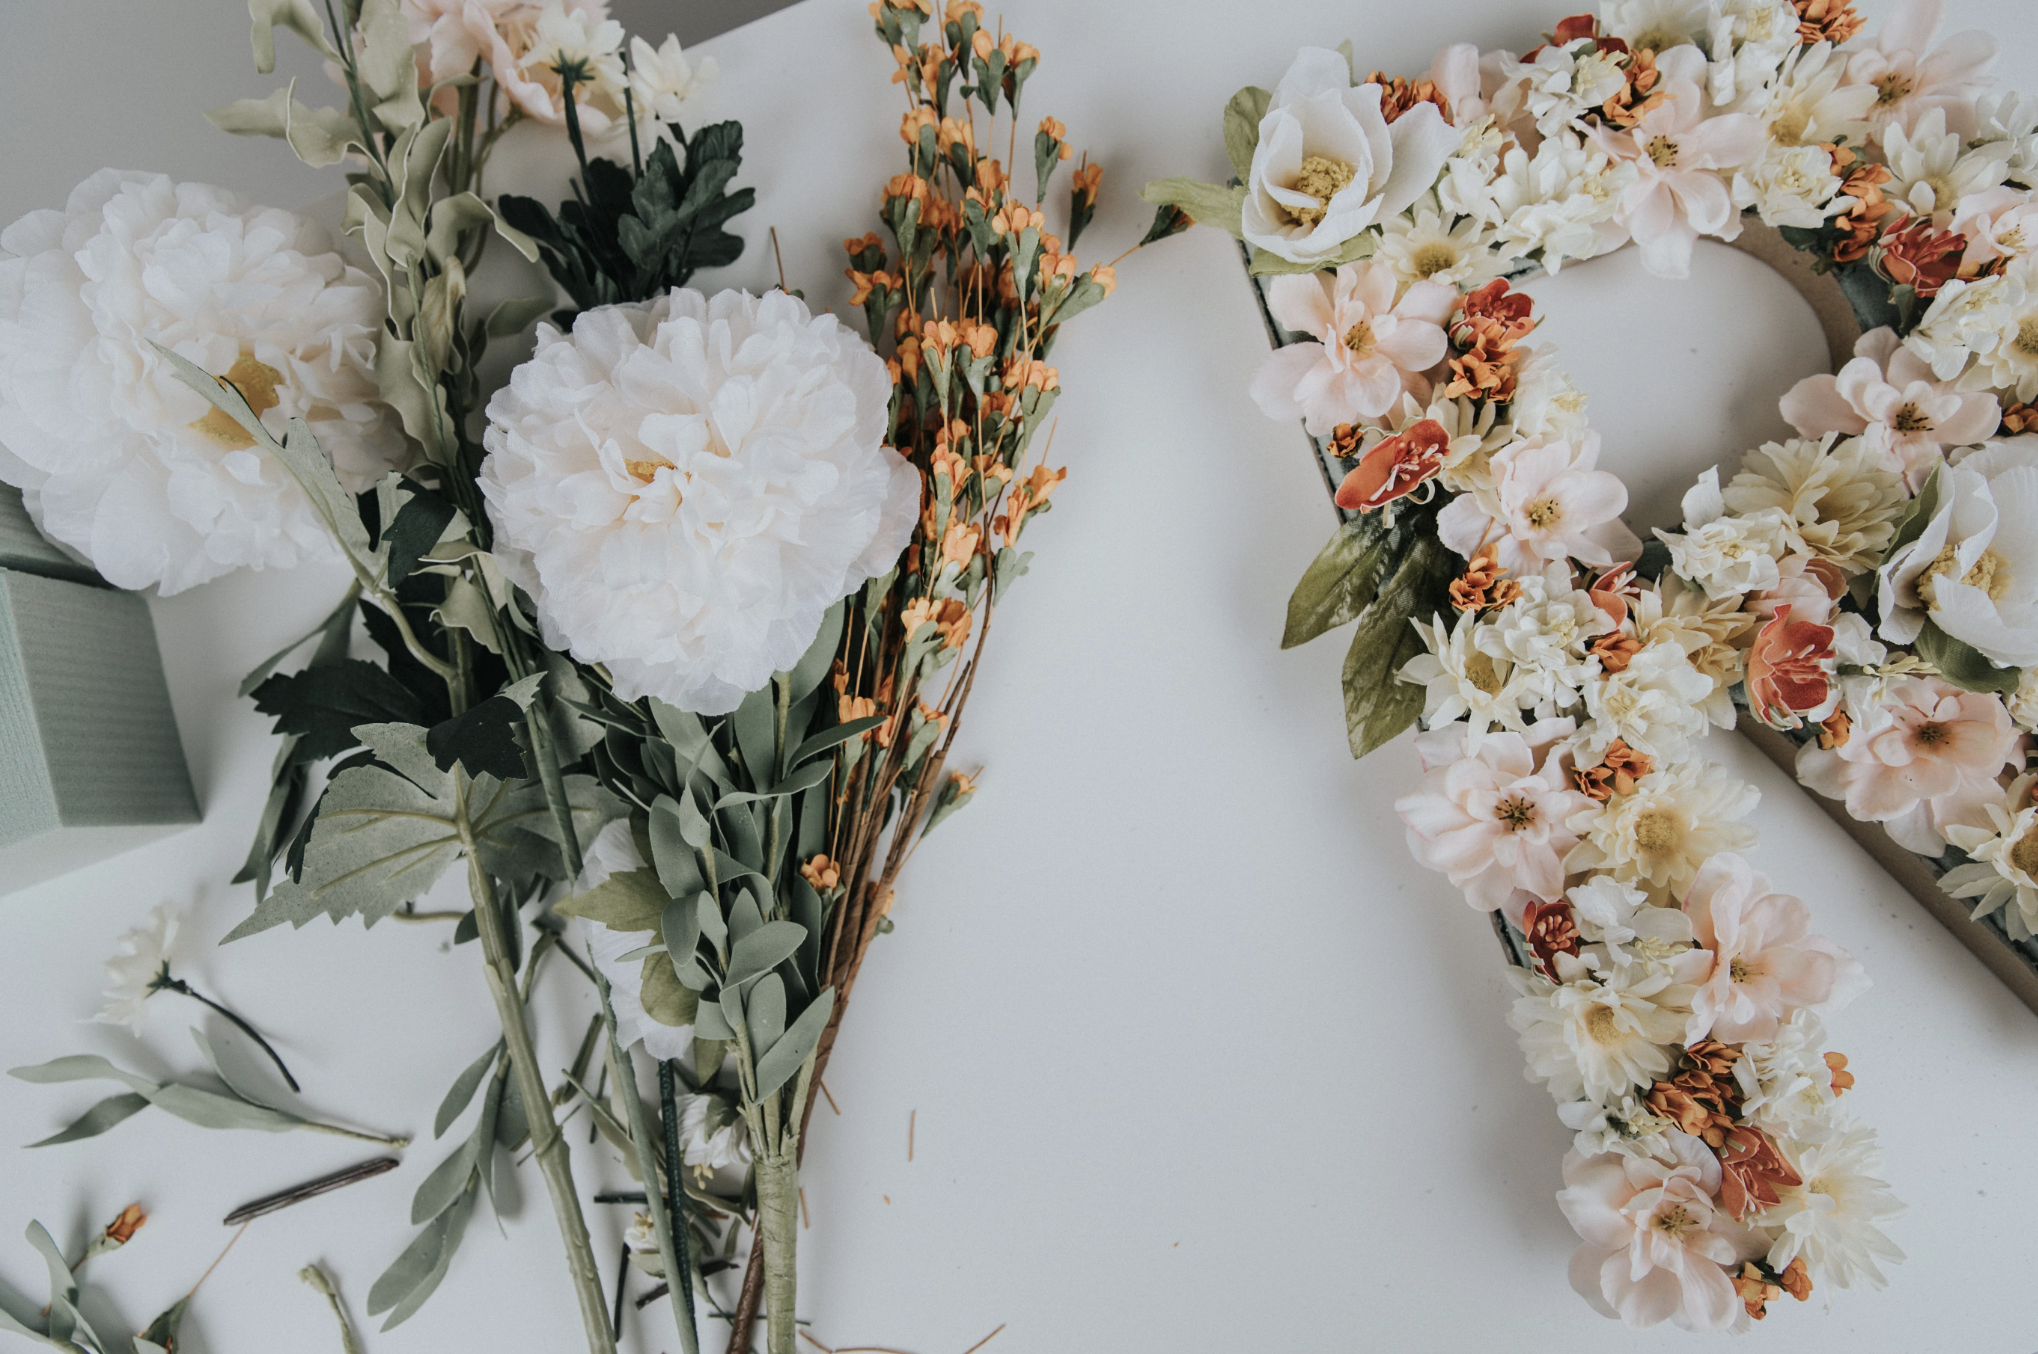
• Assortment of Faux Flowers
• Scissors or Wire Cutters
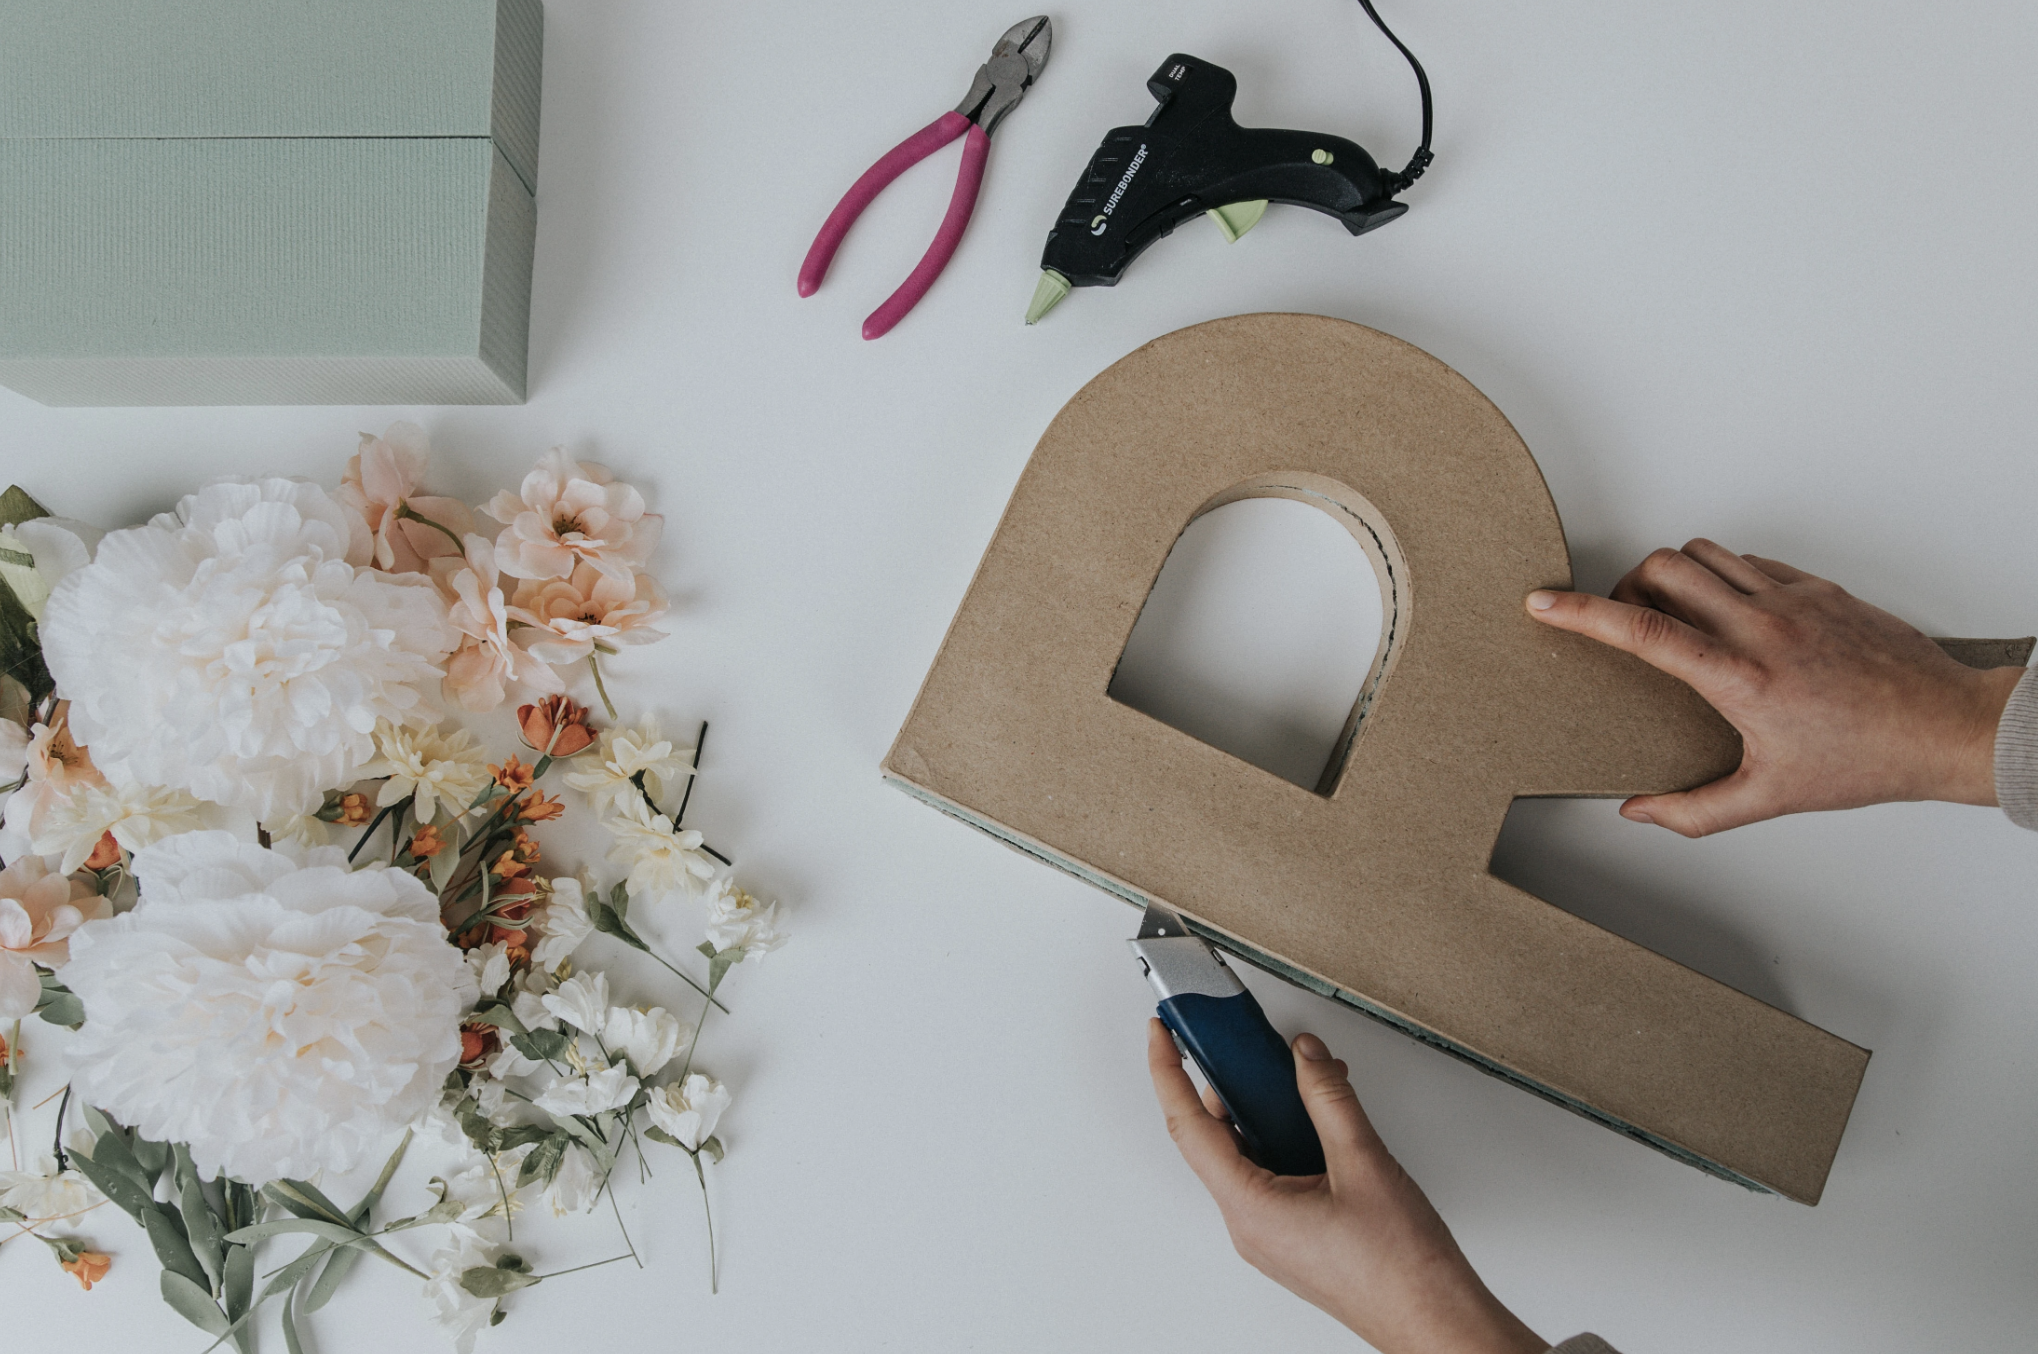
Step 1
Using the box cutter, cut your paper mache letter(s) in half width-wise. Remove the cardboard stuffing from the inside.
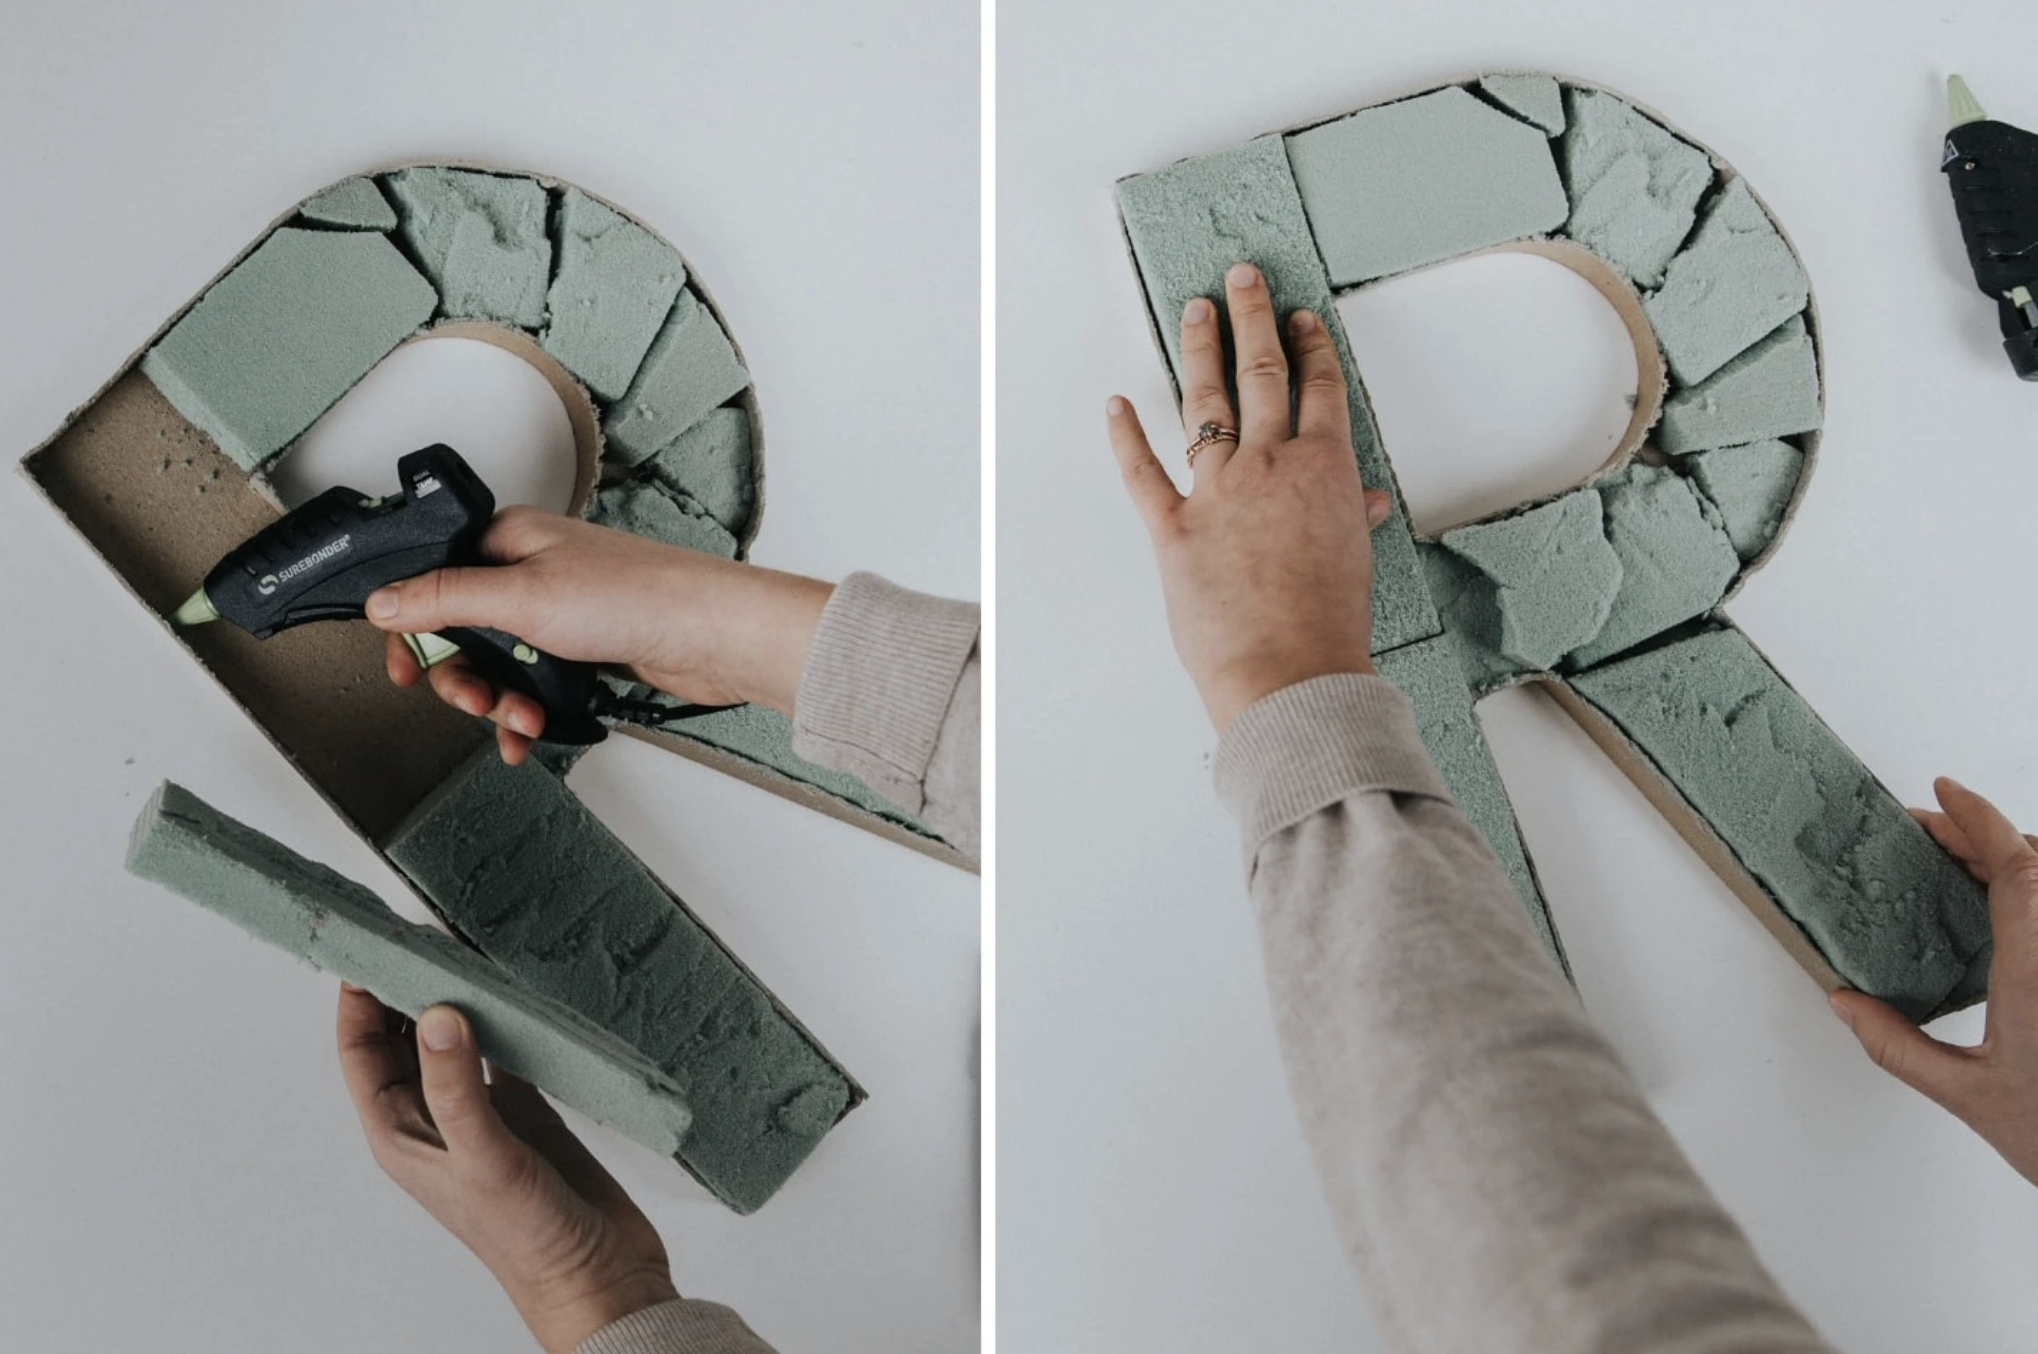
Step 2
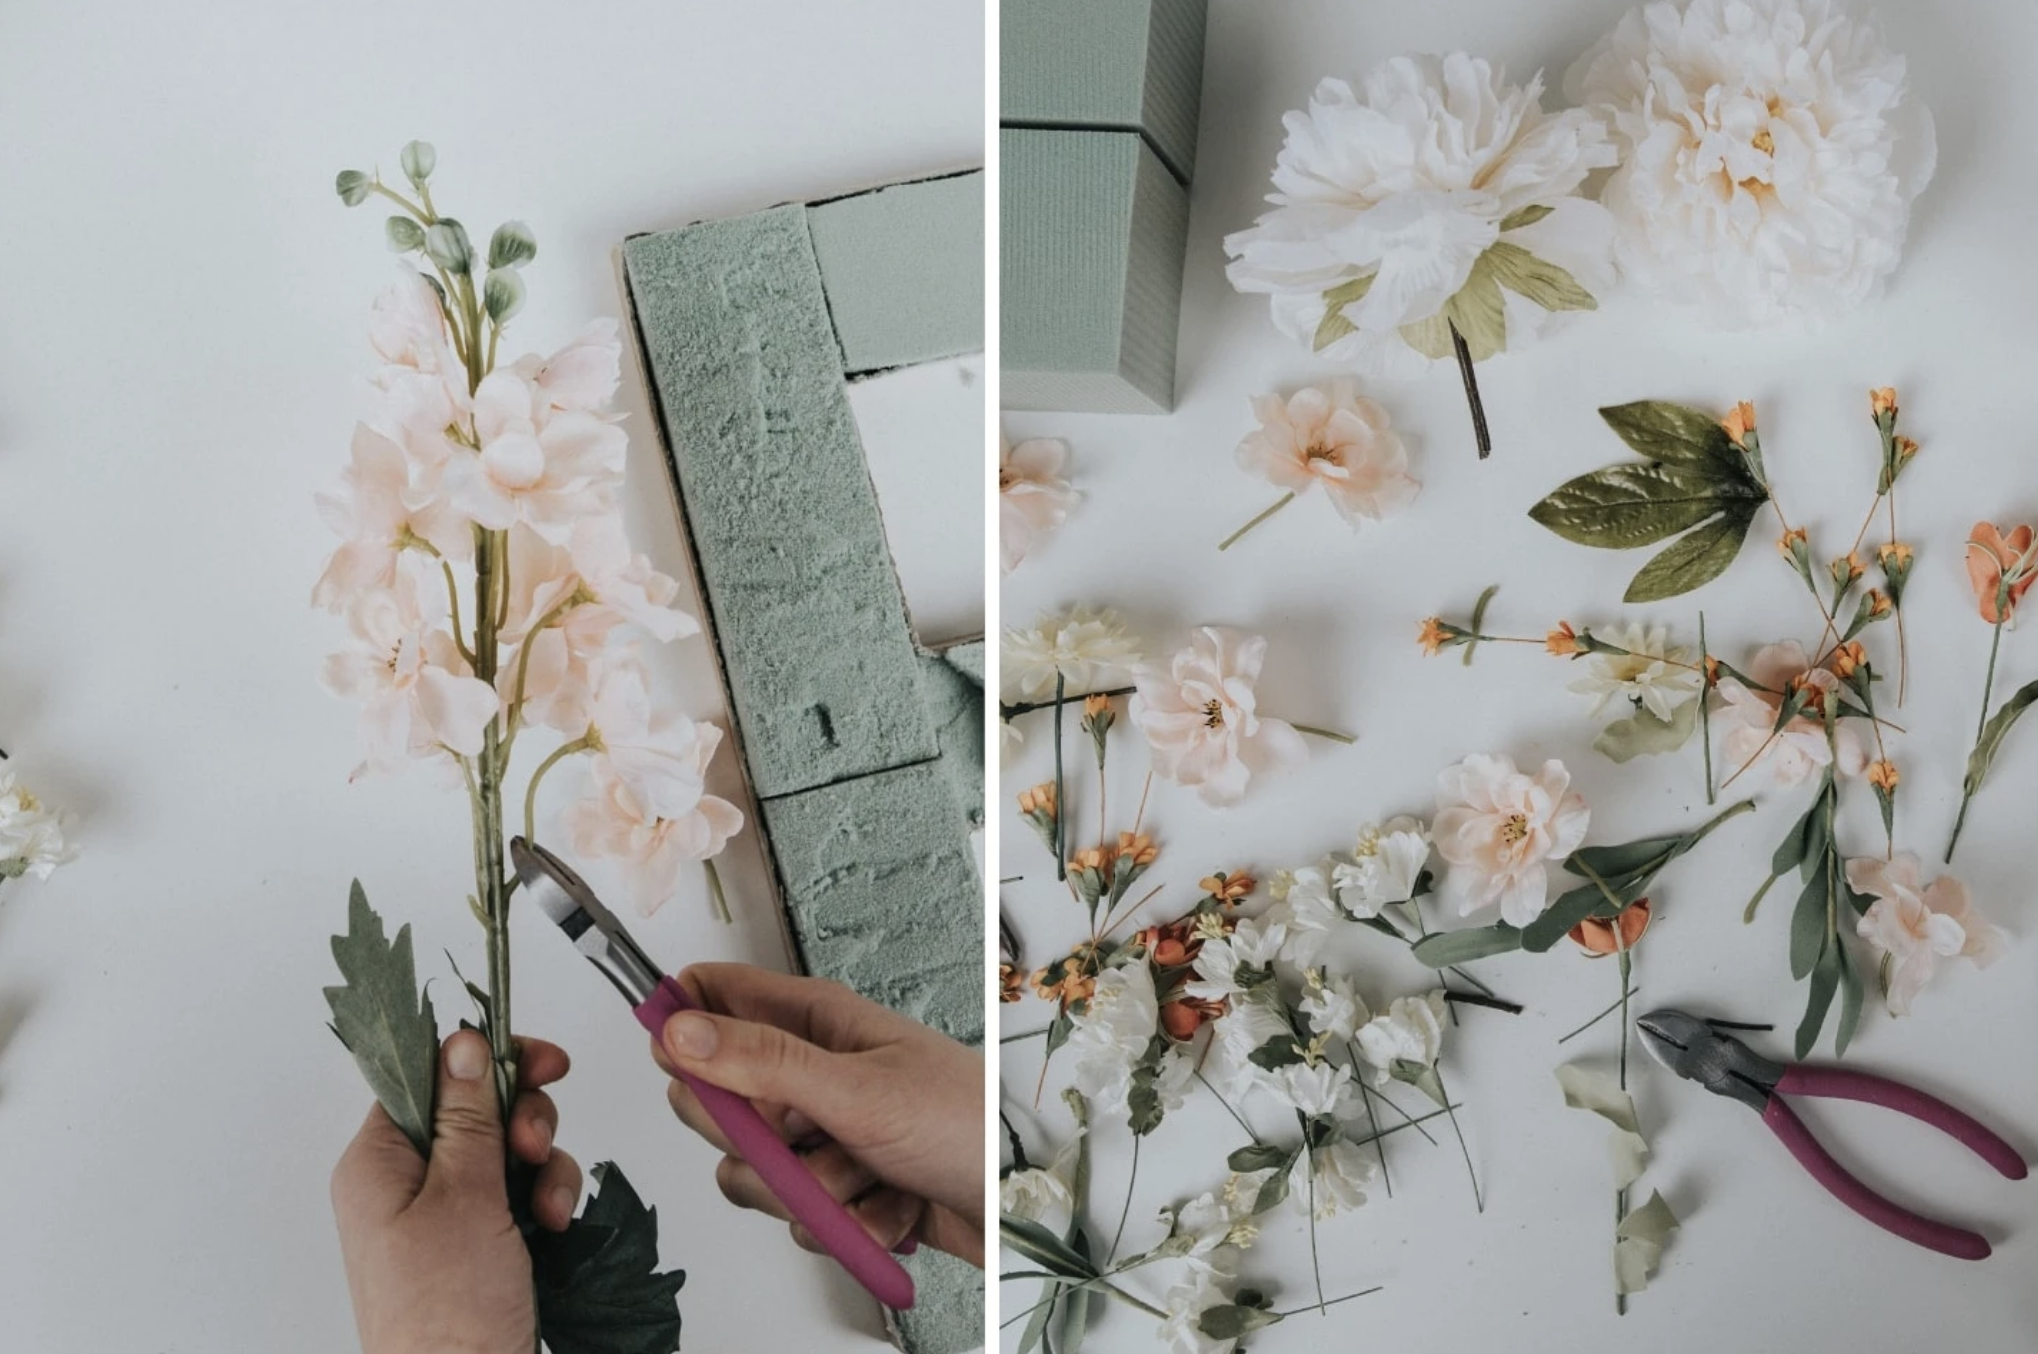
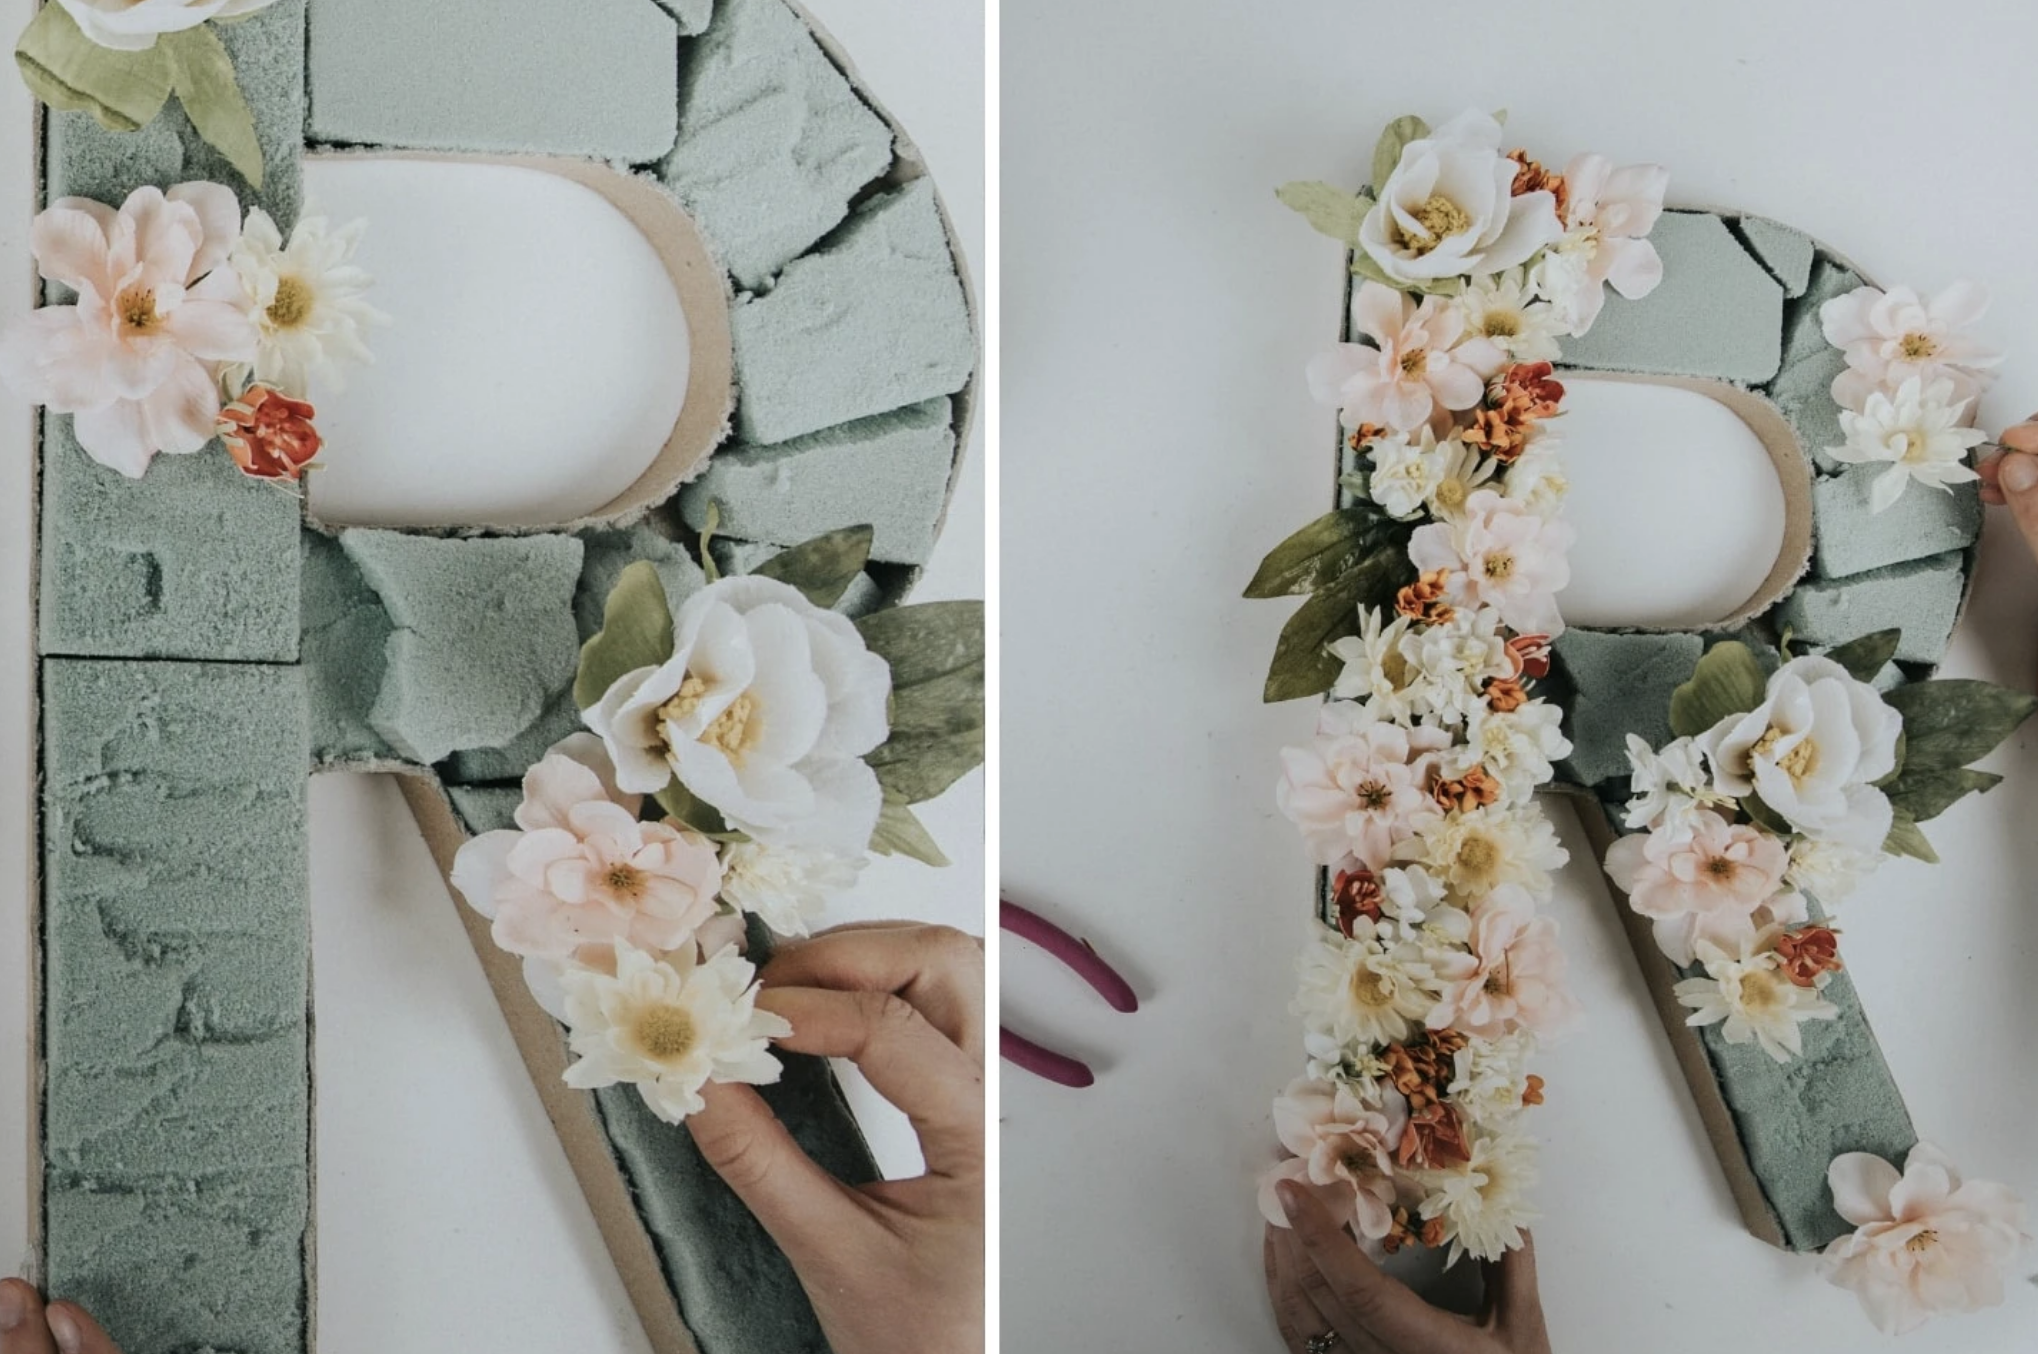
Cut floral foam to fit inside the paper mache letter. It doesn’t need to be pretty, as it will be covered with flowers! Hot glue the floral foam in place.
Step 3
Snip blooms off the faux flowers, leaving about an inch of stem to stick into the floral foam. Try to get an assortment of sizes.
Step 4
Starting with the largest blooms, stick flower stems into the floral foam. Cluster the flowers together until all floral foam is covered. Rearrange based on flower size and color until you are happy with the way it looks!
Project From: https://roolee.com/blogs/news/blooming-monogram-diy



Post a comment